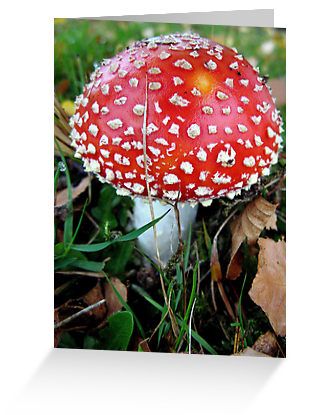
I have a thing about red and white polka dotted toadstools. I have loved them since I was a little girl. It's a bit of an obsession I'm afraid.
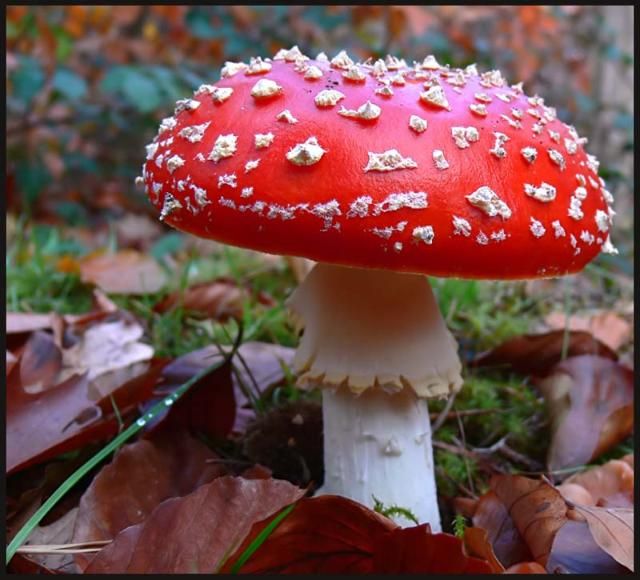
When I was a child my family had these lovely little Christmas ornaments that my parents had picked up in Germany. Little red and white toadstools, gathered into a small bunch and nestled into a small silver patty pan with a sprig of greenery. Oh how I loved those sweet little things. I could hardly wait each year for them to appear, and when they did I am afraid I made a bit of a nuisance of myself . . . always touching them and such.
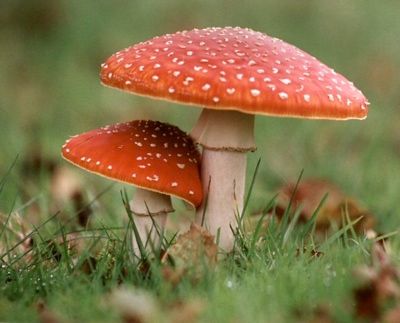
When my own children were growing up I made some for our homemade tree, out of patty pans and some greenery and little toadstools I managed to buy at a Craft store. Unfortunately in the divorce, my ex husband's new wife inherited all my handmade ornaments and such . . . heartbreaking I know, but not much I can do about. I have looked and looked to no avail over here in the UK, searching high and low for some bunches of the little red and white craft toadstools. There are none to be found.
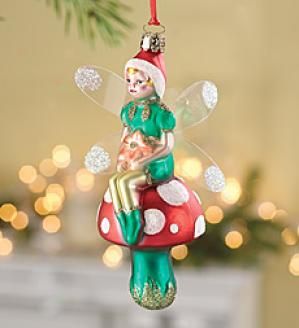
I have come across several blown glass ones this year in the shops. One I picked up as a gift for a friend and then the others I only admired as they were £5 a piece and I thought that a bit steep . . . so I left them . . . only to go back later and find them gone. boo hoo I wished so much that I had picked them up when I could. It would have been £5 well spent in retrospect.
Last night I was sitting here after having spent a lovely afternoon with my friend Jo. She had driven up all the way from Broadstairs and we had "done" lunch, something I never ever get to do. It was so much fun and we had such a lovely time together. We "did" Italian, which was a real treat as Todd doesn't like Italian and so I very rarely ever cook anything Italian here at home. Anyways, I was sitting here and decided to fashion myself a little toadstool to hang on my Christmas tree.
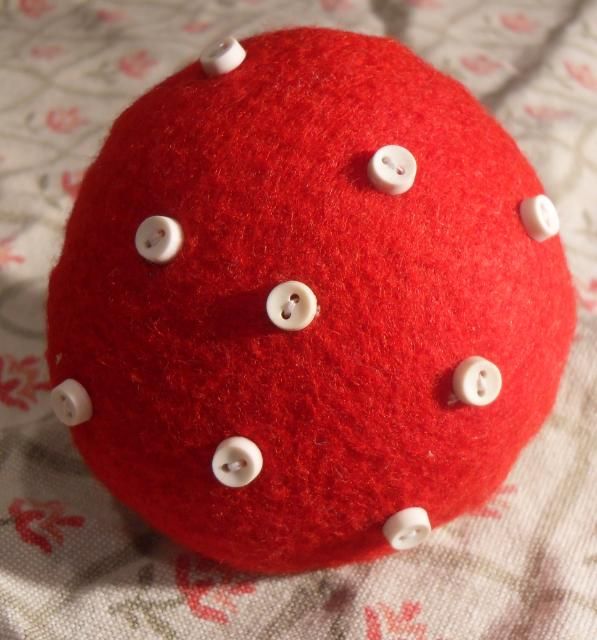
I got out some white warm and natural batting that I had brought with me from Canada, and my red craft felt, needles and thread and some little white buttons.
I cut out two 4 inch circles. One in the red felt and one in the warm and natural. Then I cut out a strip of warm and natural, about 12 inches long and 3 inches deep. I also cut out a piece of cardboard 2 inches in diameter. I gathered some red thread and some white thread and some tiny white buttons that I have been hoarding.
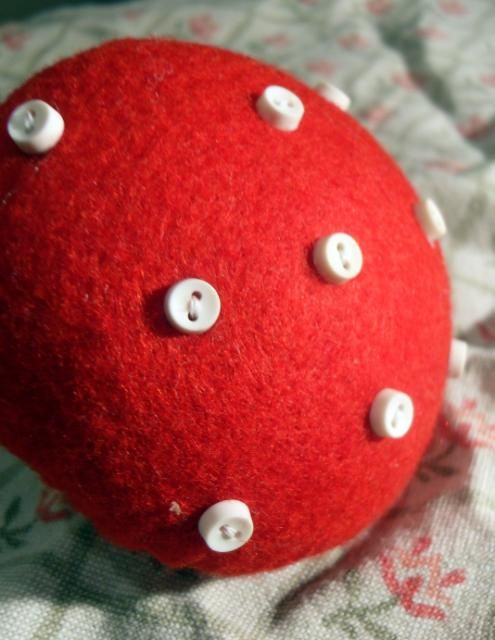
First I took the red circle and I ran a gathering stitch all around about 1/4 inch inside the outside edge and pulled it together leaving about an inch and a half opening. Into that I stuffed a good bunch of polyester polyfill so that it was sort of puffy and then I topped it with the cardboard circle to give it substance, pulled the felt tight around it and then anchored it off with a few back stitches.
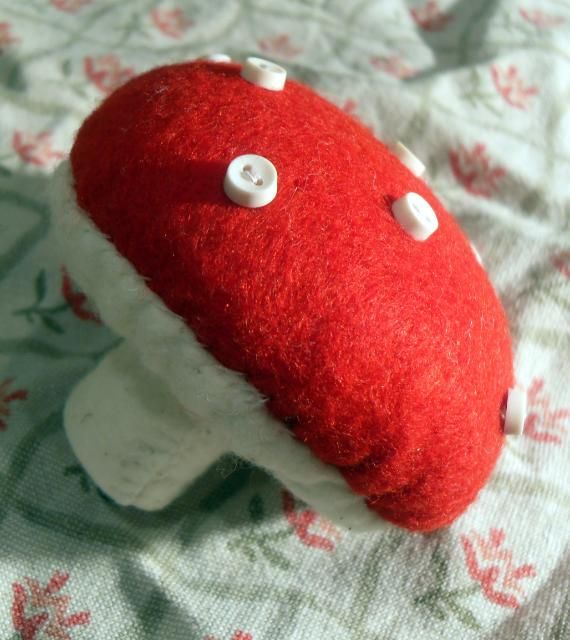
With the warm and natural I also ran a gathering stitch around the outside as before and then I pulled it tight making a quilters yo yo, but leaving an opening in the centre about 3/4 inch in diameter. I flattened it, and then sewed it to the bottom of the red puffy big, covering over the cardboard.
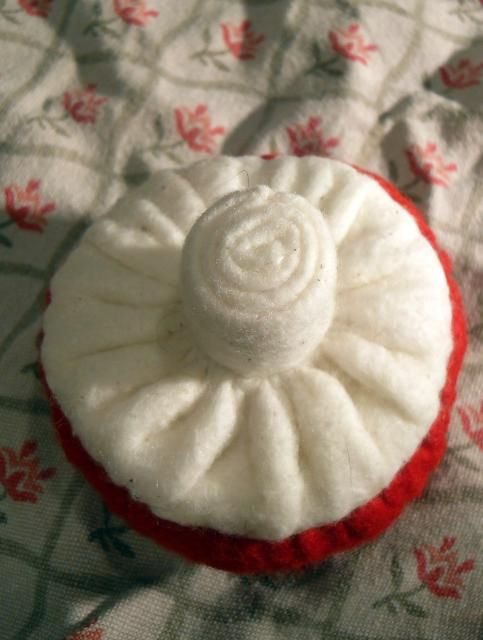
Then I took the strip of warm and natural and folded it in half lengthwise and then rolled it up tightly to make a stem. I stitched it tightly closed all along the ending overlap.
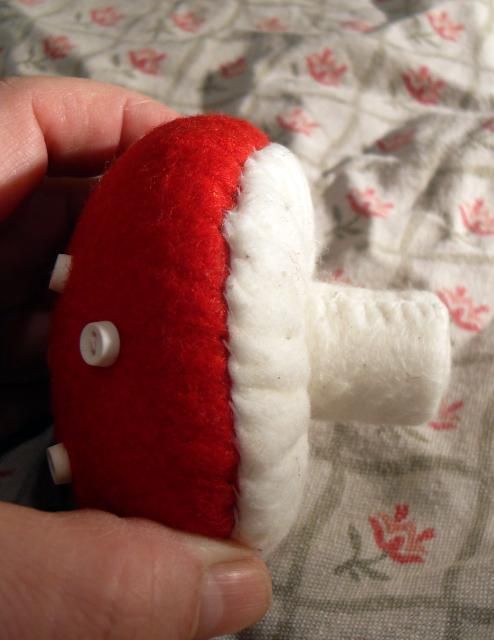
I took some tiny white buttons and I sewed them onto the red puffy part here and there and then I glued the stem end inside the opening I had left on the yo yo at the bottom of the toadstool.
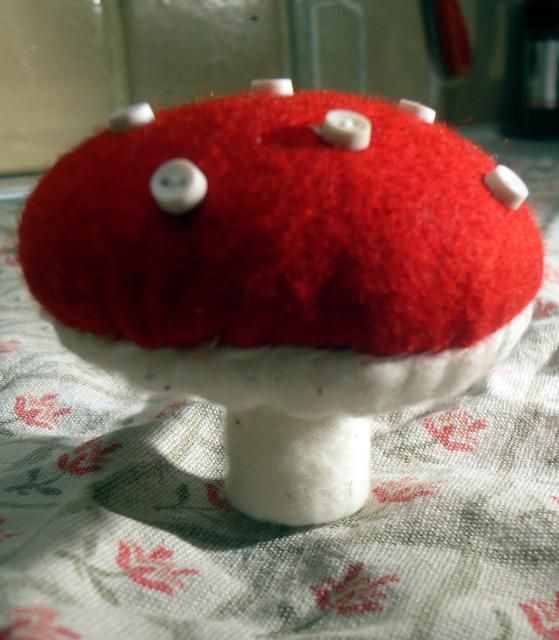
Don't you think it is adorable?? All I have to do now is to fashion a hanging loop and it will be living quite happily on my Christmas Tree!! Not quite blown glass, or the toadstools of my childhood . . . but I love it just the same.
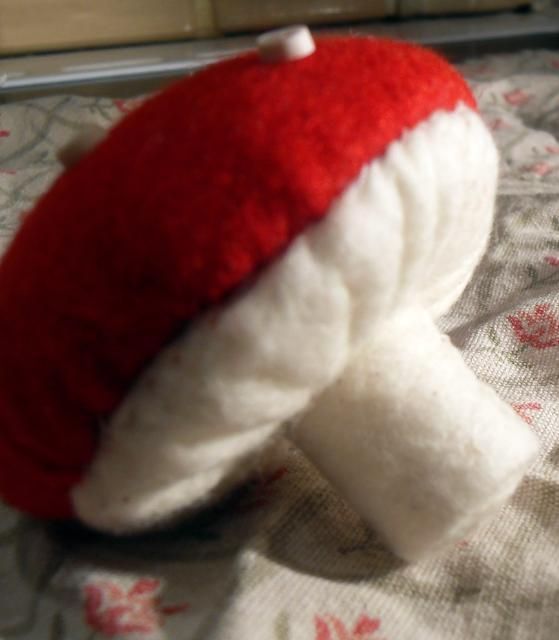
Know what??? Next year if I see some blown glass ones, I'm going to snuffle them up for my tree. I may never get the chance again . . .
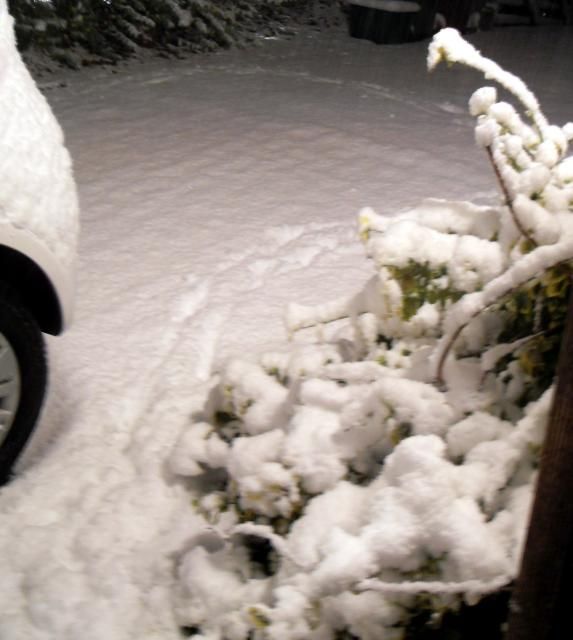
Look what was waiting for me this morning when I opened my eyes!! Yes, it's snow. A week early, but snow nonetheless. It probably won't be still here come Christmas, but nevermind. I did get my wish! (Not a great picture I know, but it's still dark out and it's still snowing!!)
This is a recipe I had posted on here several years ago. I didn't get much cooking done yesterday really and I thought it would be good to re-post it in a printable format. I hope you don't mind! I have a lot of new readers out there who wouldn't have seen these, and the oldies, well . . . some things just bear repeating don't they! From the Green and Black's Chocolate Cookbook, it's Celebration's Brownies. These are sooooo yummy!! You will not be able to resist!
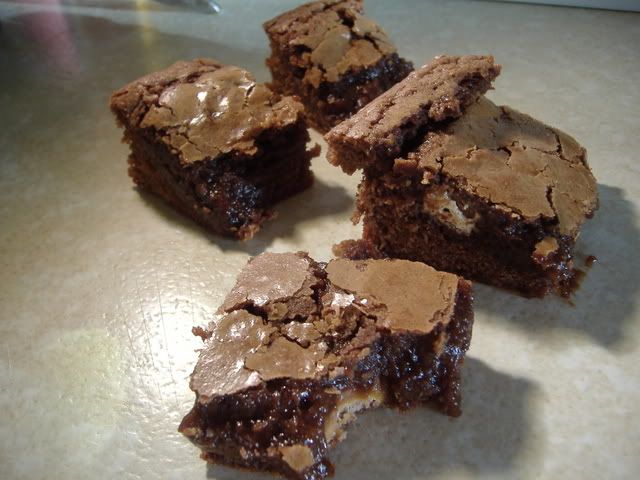
*Celebration Brownies*
Makes 15
Printable Recipe
Imagine a brownie so rich and gooey that you can’t help gasping with pleasure when you sink your teeth into one . . . now add the hidden surprise of your favourite chocolate candy bar deep inside it’s decadently rich, chocolaty depth . . . Yes, you have died and gone to heaven.
7 ounces butter
3 ½ ounces dark chocolate, broken into pieces (use really good quality, no less than 60% chocolate solids)
12 ounces dark soft brown sugar
4 large eggs
1 tsp vanilla extract
8 ounces self raising flour
Pinch of salt
10 ¼ ounce box of Celebration** chocolates, or other chocolates of your choice (Imagine Maltesers dotting the middle or a lovely layer of thin chocolate After Eight mints)
Pre-heat the oven to 180*C/350*F. Brush an 11 X 7 inch tin with melted butter and then life with greaseproof paper. Set aside.
Put the butter and the chocolate in the top of a double boiler over simmering, but not boiling water, making sure the water does not touch the bottom of the top pan. Allow to melt, stirring occasionally. Remove from the heat. Stir in the chocolate, mixing it in well.
Beat the eggs together with the vanilla and the pinch of salt. Stir this into the chocolate mixture, mixing it in well. Sift the flour and stir in until well combined.
Un wrap the chocolates.
Pour half of the chocolate batter into the prepared tin. Lay the chocolates evenly spaced carefully over the top of the batter, making sure that there will be at least one in each portion that is cut. Pour the remaining batter over top, ensuring that all the chocolates are completely covered.
Bake in the heated oven for 15 to 30 minutes until the top is crispy and glazed looking but the insides are still soft. Remove from the oven and to a rack to cool. Allow to cool completely before cutting into bars.
**Celebration chocolates are a mixture we can get over here of small miniature chocolate bars such as Milky Way, Bounty, Mars, Snickers, etc. If you can’t get those use any favourite chocolate of yours. Malted milk balls sprinkled over the layer work quite well, as do thin chocolate mints. Chunks of caramel bar work equally as well. Let your decadent foodie imagination run free!
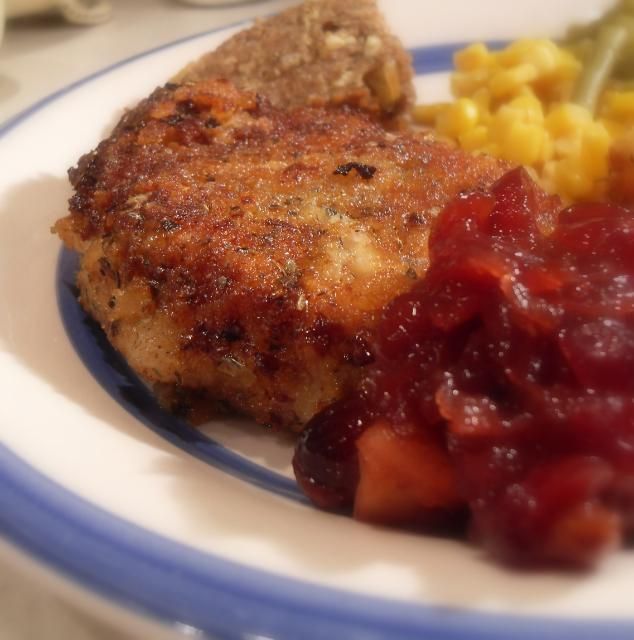
Over on The English Kitchen today, dinner from when we had the sister missionaries over several nights back . . . tasty Sage and Cheese Crumb Breaded Pork Chops with a tasty homemade Cranberry Chutney!